7 Tips for Choosing the Right Epoxy Adhesive
Choosing an epoxy by strength alone can lead to a weak joint. The label may promise impressive numbers, yet the bond can fail when the surfaces, cure schedule, or working conditions do not match. A useful guide starts with the actual job: a cracked ceramic handle, a metal bracket, or a wood joint exposed to damp air.
Adhesive scientist Professor A. J. Kinloch’s research highlights how adhesion depends on the materials and conditions involved. A practical takeaway from that work is: “Choose the adhesive for the joint, not just the strength listed on the package.” This is a concise summary, not a verbatim quotation. It points to a common mistake: treating every Epoxy Adhesive as interchangeable. They are not. Some products suit close-fitting parts; others tolerate small gaps or offer longer working time.
The seven tips ahead focus on the details that change results: substrate compatibility, surface preparation, bond-line thickness, cure time, temperature, load, and product instructions. A dusty edge or a cold garage can matter more than expected. So can the time available to position a part before the epoxy sets. Small details count. This guide also leaves room for judgment; product labels cannot predict every repair, and a test on scrap material may reveal an inconvenient truth before the final bond is made.
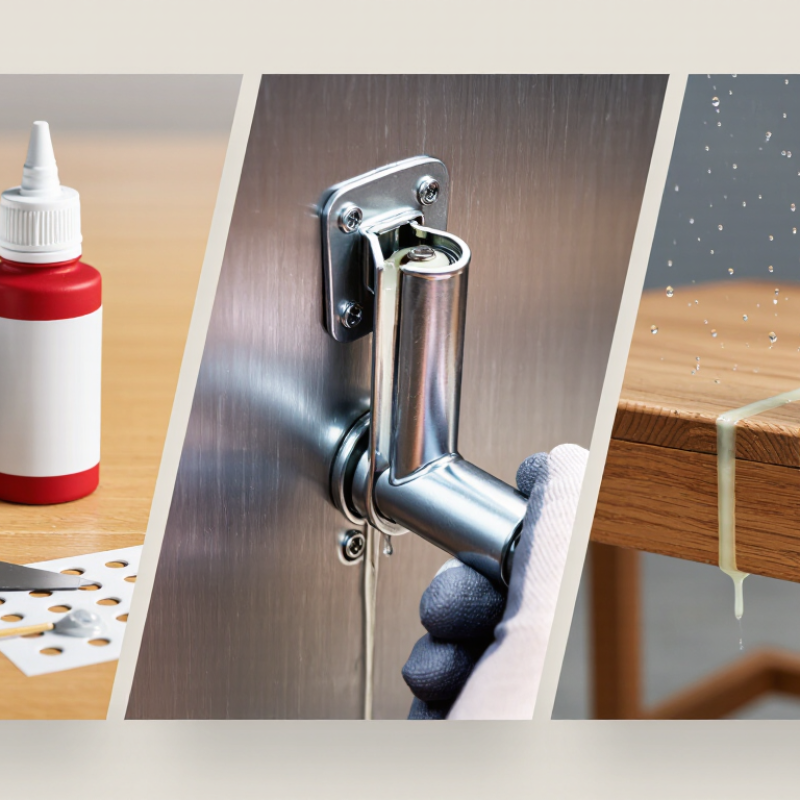
Identify the Materials and Conditions to Be Bonded
Start with the actual substrates, not the word “metal.” Aluminum, carbon steel, glass, and filled plastics differ in surface energy, stiffness, and thermal movement. ASM Handbook property tables give typical thermal-expansion coefficients of about 23 µm/m°C for aluminum and 12 µm/m°C for carbon steel. Across a 100 mm joint and a 20°C temperature change, that difference can create roughly 0.022 mm of relative movement. Small difference. Repeated over many cycles, it can stress the bond line.
Next, check the real service conditions: temperature range, moisture, vibration, and exposure to oils or cleaners. ASTM D1002 measures apparent lap-shear strength on metal-to-metal joints; those results alone cannot predict performance on plastic or a porous surface. Not always. Match test data to the actual material pairing, and confirm that the adhesive can fill the joint gap without relying on a thick layer for strength. On-site, I would record the substrate, surface preparation, and cure conditions before comparing products. It is easy to overlook a damp surface or a temperature swing. A small trial joint, cured and tested under realistic conditions, can reveal problems that a specification sheet misses.
Compare Epoxy Types, Strength, and Flexibility
Epoxy adhesives vary in cure speed, gap-filling ability, and final hardness. A fast-setting formula can help with small repairs, but leaves little time to align parts. Slower-curing types usually allow more adjustment and may suit larger joints. Two-part epoxies are common; some formulations are rigid, while others retain slight flexibility. Check the product’s technical data sheet rather than relying on the word “epoxy” alone.
Strength matters, but the strongest option is not always the best fit. A rigid epoxy can hold metal brackets firmly, yet repeated vibration or bending may stress the bond. A more flexible formulation can absorb some movement, though it may not provide the same stiffness. Surface preparation matters too: remove dust, grease, and loose paint, then follow the stated mixing ratio and cure time. It is easy to focus on maximum strength and overlook movement in the joint.
Tip: Match the adhesive to the materials and expected load. Test on a hidden area when appearance matters. Keep parts still while curing, and allow extra time in cool conditions. Small details make a difference.
Check Working Time, Cure Time, and Application Method
Working time is the period available to mix, spread, and position epoxy before it becomes too thick to use. Check whether the stated time begins at mixing or after application; these are not always described the same way. A five-minute working window can disappear quickly when you are aligning two parts or filling a narrow gap. Small details matter. Mix only what you can apply promptly, and prepare clamps and surfaces beforehand.
Cure time is different. An adhesive may feel firm after an hour but need much longer to reach its stated strength. Temperature, humidity, and bond thickness can change the result, so read the product instructions and allow extra time when conditions are cool. “Dry to touch” does not mean ready for stress. I would not rely on a rushed fingertip check; it tells you little about the strength inside the joint.
Match the application method to the job. A syringe can help place epoxy in a tight seam, while a spreader gives more control across a flat surface. For overhead or vertical repairs, a runny mixture may slip before it sets. Test a small, similar area if you can. It takes extra time, and the test may not perfectly mimic the real joint, but it can reveal awkward flow or a shorter-than-expected working window.
Assess Environmental, Safety, and Compatibility Factors
Choosing an epoxy adhesive starts with the joint’s surroundings, not the cure-time label. Record the expected temperature range, moisture, sunlight, and chemical contact. A garage floor, for example, faces damp concrete and tire heat; a shaded indoor joint may not. Check whether the adhesive suits both substrates, especially plastics or coated metals. Different expansion rates can stress a rigid bond. Test a small sample first. It may reveal more than the datasheet suggests.
Safety deserves the same attention. NIOSH has estimated that more than 13 million U.S. workers may encounter chemicals absorbed through skin. That figure covers many chemicals, not epoxy alone, but it shows why uncured resin and hardener need careful handling. Read the safety data sheet, use the specified gloves, and provide ventilation. BLS recorded 2.6 million nonfatal workplace injury and illness cases in private industry in 2023; this broad count is not epoxy-specific, yet workplace precautions matter. Keep uncured material away from drains, and follow local disposal guidance. Low odor is not proof of low exposure. I would not choose by that alone.
Test the Bond and Follow the Manufacturer’s Instructions
7 Tips for Choosing the Right Epoxy Adhesive
Test the Bond and Follow the Manufacturer’s Instructions
A small test joint can reveal problems before epoxy reaches a valuable part. Bond scrap pieces of the same materials, using the same surface preparation and joint gap planned for the real job. Make three samples if materials allow. Keep them beside the work area, not in a different room where temperature may vary. Small details matter.
Follow the product instructions for mixing ratio, working time, temperature, and full cure. A surface that feels hard may still hide an under-cured joint. ASTM D1002 and ISO 4587 describe controlled lap-shear tests for bonded specimens. Their methods help make test results more comparable, but a home test is not a certified lab result. For a simple comparison, record the peak load and divide it by the bonded area. One newton per square millimetre equals one megapascal. Note where failure occurs: inside the adhesive, along the surface, or in the material itself. I still find surface cleaning easy to underestimate. A dusty edge can make a good adhesive look like a poor choice. Wait for the stated cure time, then test gently and consistently.
7 Tips for Choosing the Right Epoxy Adhesive
Test the bond and follow the manufacturer’s instructions.
Epoxy working time and cure time vary by formulation and conditions. These broad illustrative ranges are not product specifications: check the technical data sheet, prepare the surfaces as directed, and test a sample bond before use.


